Network Media Server
07/30/09
One thing that has always bothered me is having access to my media files when I want them. For years, I stored my media on external hard drives (except for my music, which I use every day). This meant that every time I wanted to watch a movie with friends, I had to track down the external hard drive the particular file was on, find an outlet to plug it in and then find an open USB port on my computer. This was a process considering my media was spread across 3 externals and I never seemed to be able to pick the right one first. I wanted to come up with a solution where the hardest task when wanting to watch a movie was what movie to pick. I chose to build a standalone media server.
This server would have to run ‘headless” and be able to serve content to everyone in my house at college. It would need massive amounts of storage space and not sound like a jet engine taking off where ever it ended up living. Also, cheap was the name of the game as college is expensive. This meant recycling as many parts from past computers as possible. The only thing I would have to buy new would be the storage drives and a controller card to access them, keeping the overall costs low.
After some digging through various bins of PC parts at my parents’ house, I emerged with the best parts on hand. The Motherboard, CPU and Ram all came from a past version of my main computer, now 2 upgrades ago. The video card, while not the most powerful one at my disposal, was chosen because it had no fan on its heatsink so it would reduce the overall noise output. Also, since the server would be run headless, it was only needed when setting up the server. The power supply, while being quite possibly the worst power supply I’ve ever owned, was the only one on hand so I had to use it. The hard drive I chose to be the operating system and download drive was the largest SATA drive I had on hand. The LCD screen on the front was one of the many Matrix Orbital LCD’s I have lying around (I went on an ebay craze a few years back and bought way more of them than I know what to do with). The various fans came from past projects and the Digital Doc fan controller showed up somewhere along the way.
With most of the hardware sorted, I needed to find some storage drives and a way to access them. I originally placed an order for 2 1TB Samsung EcoGreen F2 drives for $70 each with free shipping. About a week later, the same series of drives showed up on newegg, but in 1.5TB capacity for $80 each so I bought a pair and swapped out the 1TB. Since the motherboard I was using could only use one onboard SATA channel unless you wanted raid, I was forced to find a PCI SATA controller card for the storage drives. I found a deal on newegg for a SYBA PCI SATA/IDE Combo Controller Card without raid, for $20 shipped. The fact that the card did not have raid features did not bother me, as I never planned to use raid in this server. One mild downside of using a PCI SATA card is the fact that it can only access the drives at 1.5 Gb/s (due to PCI bus limitations) and not 3.0Gb/s like the drives support. Since the bottle neck in a server is the network interface, the speed reduction in drive access will not be noticeable. These two purchases put the total cost for this server at $180 since all I had to buy were the drives and controller card. Now it was time to get all of these parts into a case.
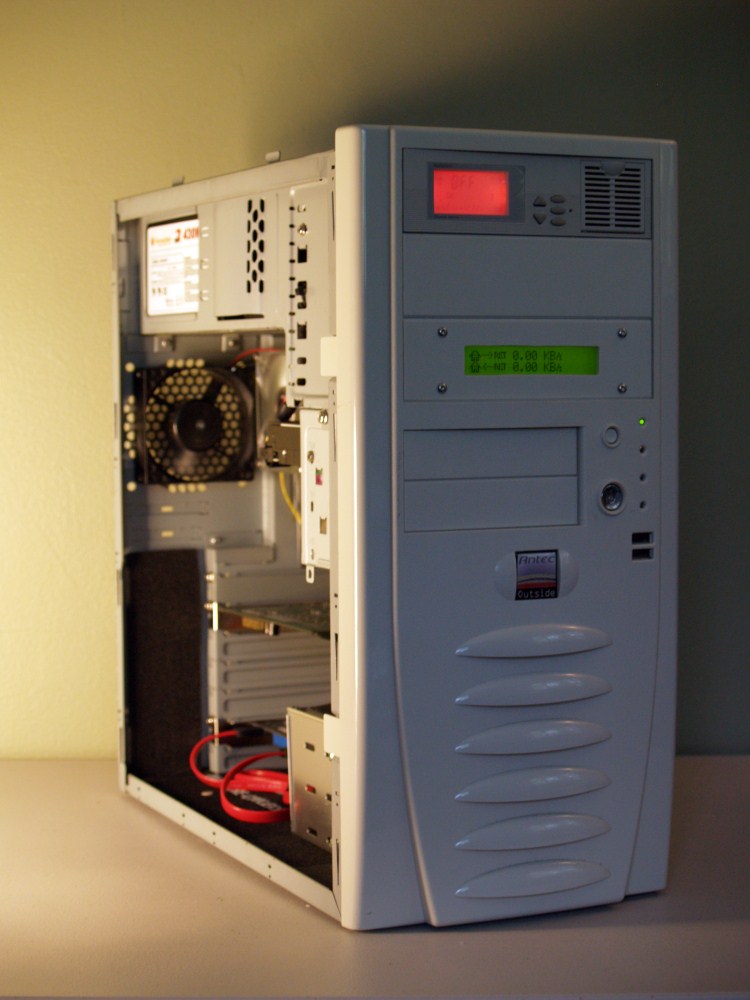
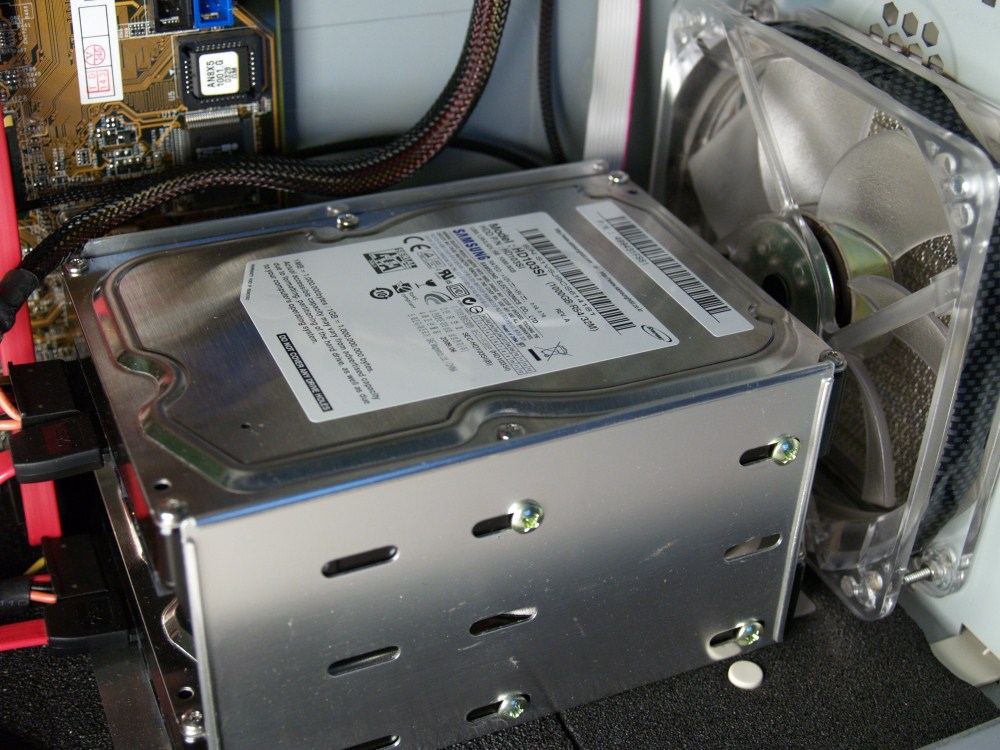
I had an old beige Antec ATX case lying around but it would need some modifications before it would be ready for server duty. The first thing I had to figure out was a way to mount the new hard drives because the case only had 3 3.5” bays and I didn’t want all the drives sandwiched together to keep their heat down and extend their service life. I had an aluminum hard drive rack that I took out of an old case and this would work great to hold the storage drives once it was bolted to the bottom of the case. I then cut the front panel of the case to fit a 120mm fan and dust filter to cool the drives under load.
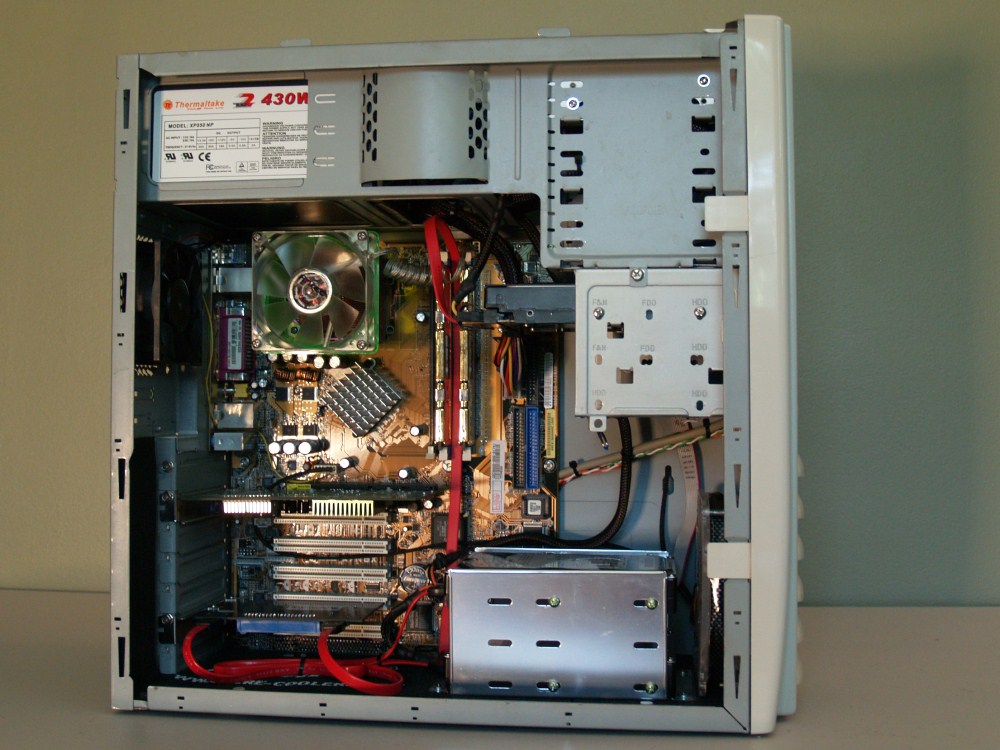
The only other modifications necessary were cutting one of the 5.25” covers to fit the LCD display and covering some of the internal surfaces with sound dampening foam. The internal side of the side panels is also coated in the same foam as the floor of the case. Once this was done the parts could be installed and the wire management could begin.
Close-up of the SATA controller and cables:
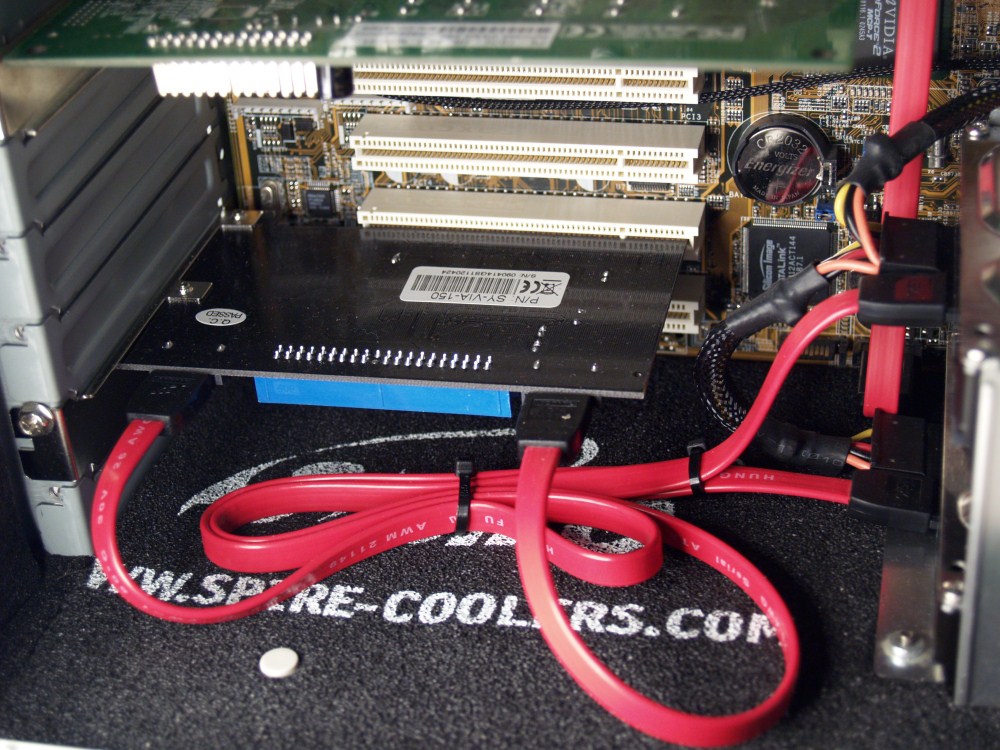
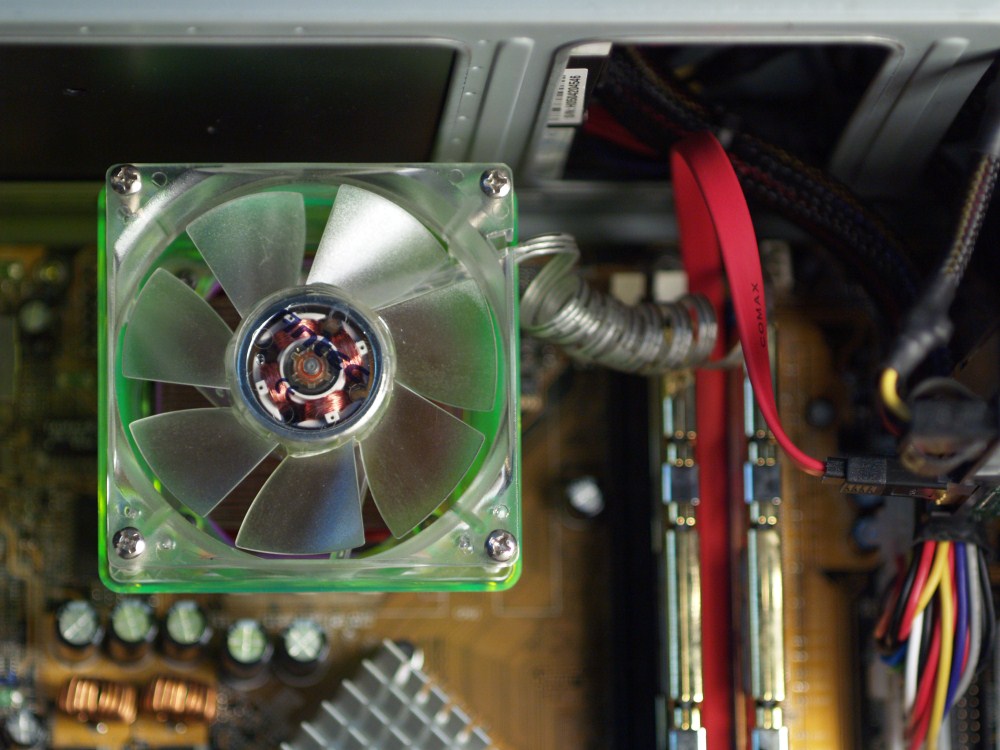
One cool trick I learned years back for dealing with long cables on fans is to wrap them around a screwdriver or a pencil to get them to curl. This makes short work of the long fan power cables for the CPU cooler that always plug in close to the socket.
With the server built, it was time to tackle the software side of things. I knew that since I wanted multiple users to connect at the same time as well as share multiple drives, XP just might not cut it. Luckily, being a college student means I can get a free copy of Windows Server 2003 through Microsoft’s DreamSpark program. Getting an operating system for free (legally), who could ask for anything better?
In order to install the operating system, I had to temporarily attach an IDE DVD Burner so I could install from CD. I could have gone the route of installing off a USB flash drive, but since I already had to connect a floppy to load the SATA drivers, adding another drive wasn’t hard. Looking back, I could have slipstreamed the install with the drivers and done it over USB, but that would have taken more time.
Once Windows was installed, the most important part was to set up my network connection to have a static IP address. Without that, the server’s IP could change, making it impossible to keep ports forwarded correctly. Next I had to configure the shared folders and users. Since I wanted different people to have different privileges, I set about creating a few new groups and adding users where they were needed. I wanted to have on the server. The first to be added was FileZilla FTP server. This would allow me to access the server from outside my home network as well as upload new files remotely. The next application to be installed and configured was uTorrent. I chose this program to torrent with because of its wide range of features, but most importantly because of its beautiful web UI. This makes adding new torrents as well as managing current ones a breeze. The rest of the software installed is all pretty much self explanatory so I will just list it at the end.
Final Specifications and Software:
Hardware:
Asus A7N8X-D Socket A Motherboard
AMD Athlon 2500+ Mobile Barton @ 1.83ghz
2×512mb OCZ GOLD PC-3200 DDR
GeForce2 MX400 AGP Video Card
ThermalTake 430 Watt PSU
SYBA PCI SATA/IDE Combo Controller Card, Non-Raid
Western Digital 120gb SATA Hard Drive
2×1.5TB Samsung F2 EcoGreen SATA Hard Drives
Matrix Orbital 2×20 Serial LCD Screen
Digital Doc 5 Fan Controller
Antec 80mm CPU Fan with 60mm to 80mm adaptor on copper heat sink
Thermaltake 120mm 72cfm Intake Fan
Panflo 80mm Exhaust Fan
Antec Case
Software:
Windows Server 2003 R2
TVersity UPNP Media Server
uTorrent
Peer Guardian 2
SqueezeCenter
Cobian Backup 9
LCDC Serial Display Software
SpeedFan
FileZilla FTP Server
Final Thoughts:
It has been over 8 months since I built the server, and after using it almost every day I have found many things I will do differently the next time around. The most important item is more storage. In this short amount of time, we nearly doubled the media we had and as a result have filled the 1.5TB drive. I could break the backup and get another 1.5TB of space to fill, but I would rather have the backup and work on building a new server. Another frivolous aspect is the LCD screen and Digital Doc fan controller. While the both look cool, neither gets the use they should since this server sits in my closet. Fan speeds don’t matter as I just leave them maxed out all the time and keep my closet door shut. As for hardware choices, I went with parts I had on hand to save money, and they worked well for what I asked them to do. The server has no trouble feeding 5+ computers at once with content, all while torrenting in the background. One thing it doesn’t have the power to do is transcode media on the fly, which doesn’t bother me as the UPNP server gets no use as we have an Xbox running XBMC in the living room.
I am already planning on building a much better server to take the place of this one in the next few months. I have a few parts already purchased and I plan on fully documenting the build from start to finish here, complete with in-depth configuration and screen shots. Check back soon for the first installment. As always, if you have any questions or comments, feel free to leave them below or send me an email and I’ll answer them. Thanks for stopping by.
3:30 pm on May 10th, 2010
Tom,
Very cool. I also have free legal copies of Win Server 2003 and 2008. I can not find a usable, free antivirus that works with the server platform. What did you use on yours? Do you have any suggestions?