Exit Sign Party Light
01/08/08
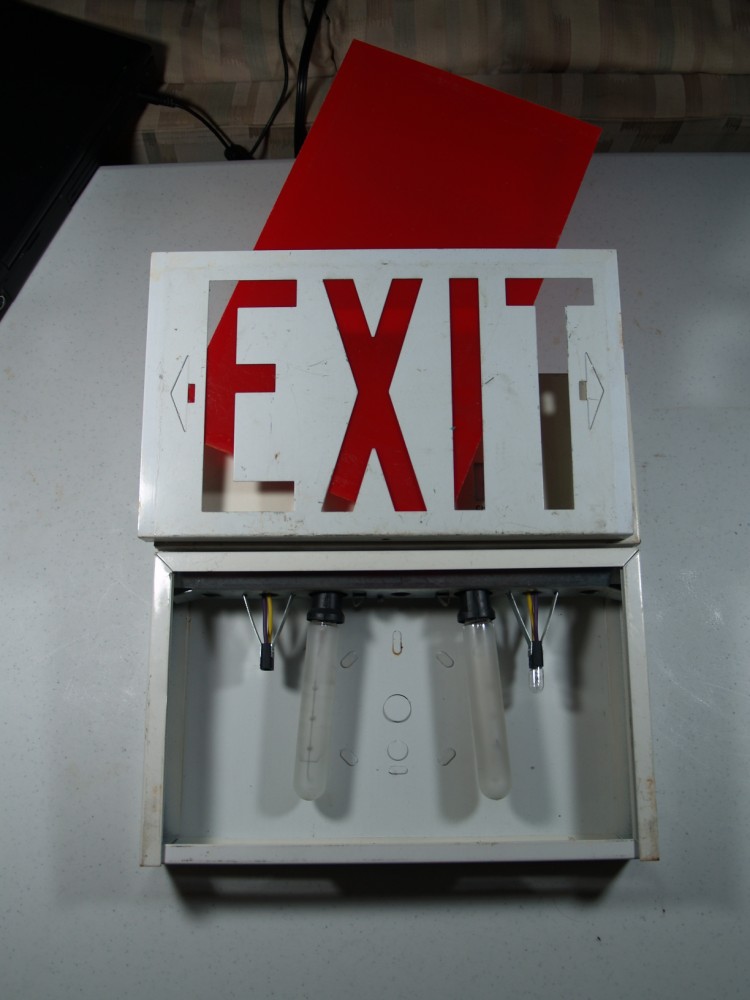
Many years ago, when I was around the age of 10 or so, I wanted an exit sign really bad. I don’t really know why, I just liked the way the looked and I like things that light up. My Dad brought one home for me from work one day but I never made anything out of it. It was pretty beat up and dirty but now that I’m older that won’t be much of a problem. My freshman roommate and I already had lots of other lights in our room, so I figured I could make a party light out of this exit sign. Over winter break I did just that. As with my other projects, each picture is clickable for a large version.

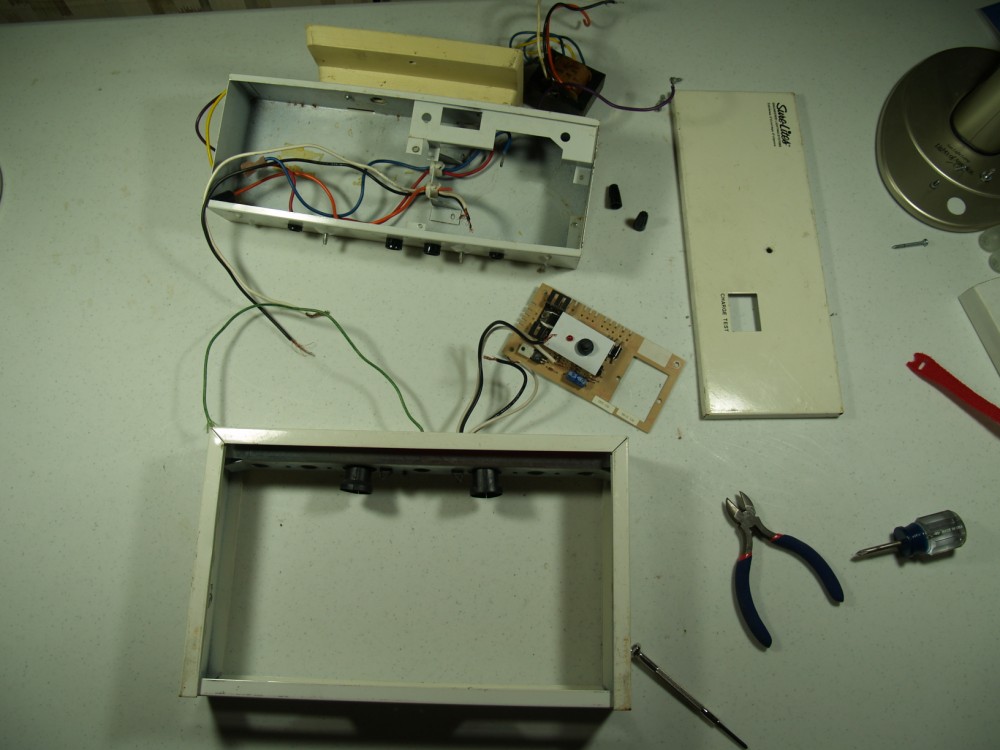
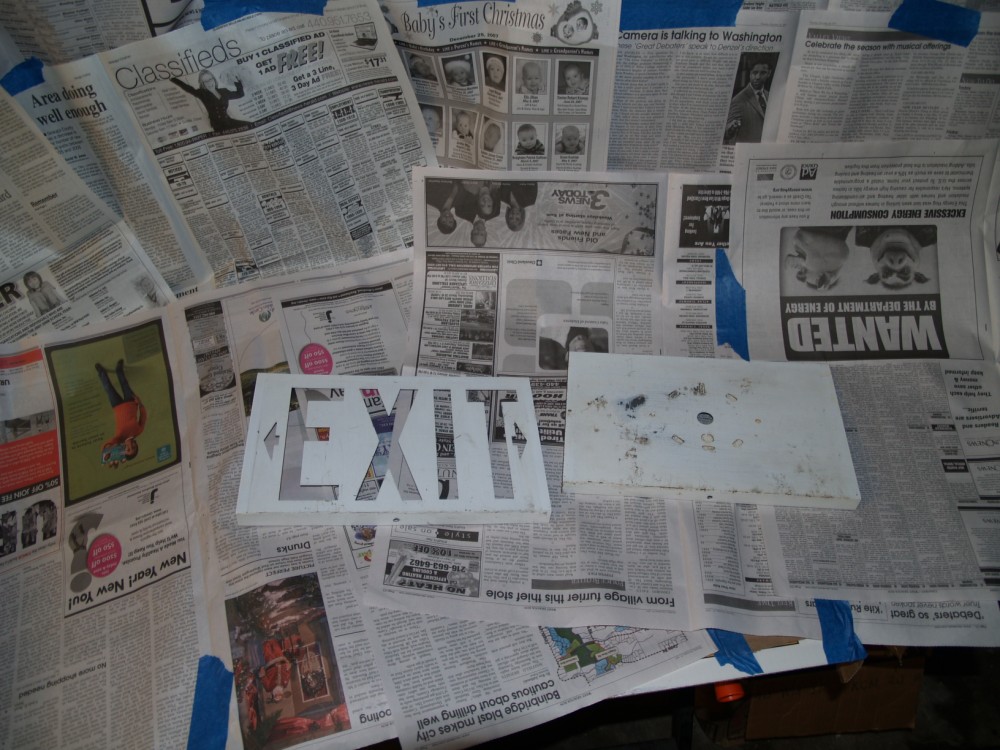
As you can see, the sign was pretty dirty so I took it apart and set about cleaning it. Two screws were all that was standing between me and the insides but they came out easy and left me with this:
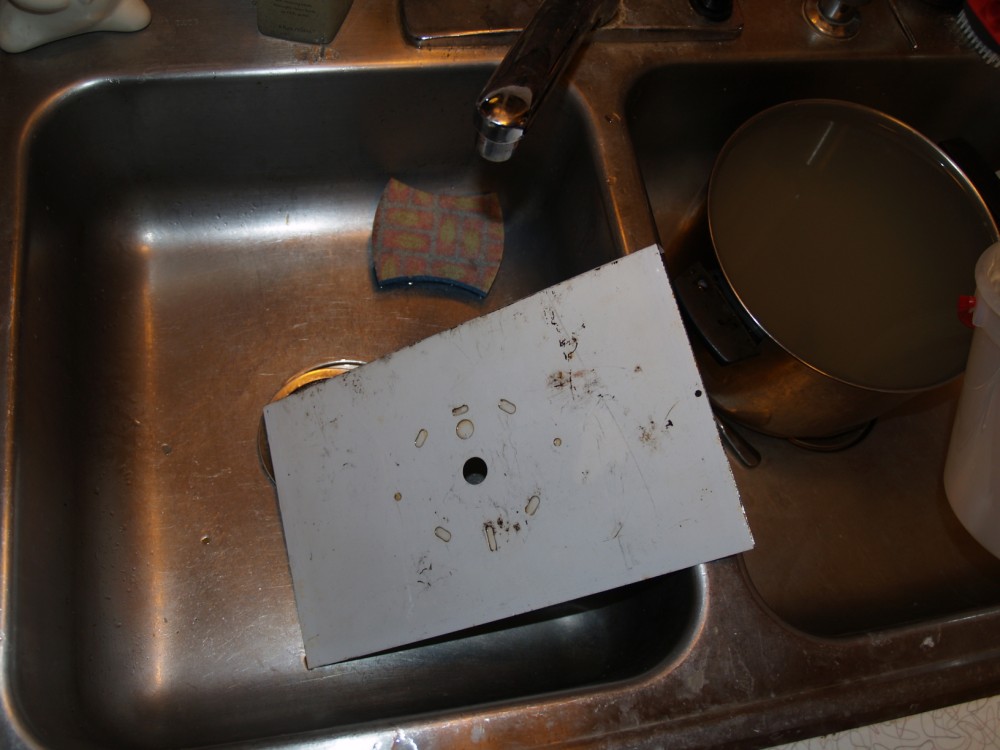
I then washed both panels in the kitchen sink with and old sponge and was left with a pretty beat up surface to start with.
While the panels were drying I set about taking the rest of the sign apart. As with most exit signs, this one had a battery backup system onboard for when the power fails, but since the batteries were long gone it won’t be of much use to this being used as a party light so I decided to remove it.
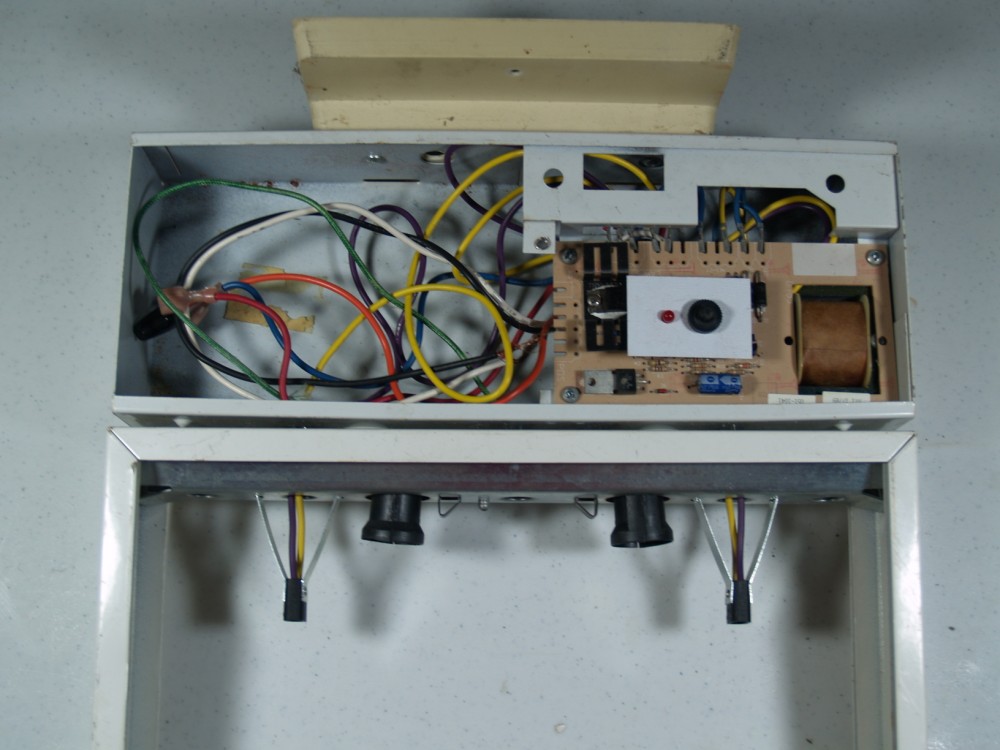
Two more screws and it was history.
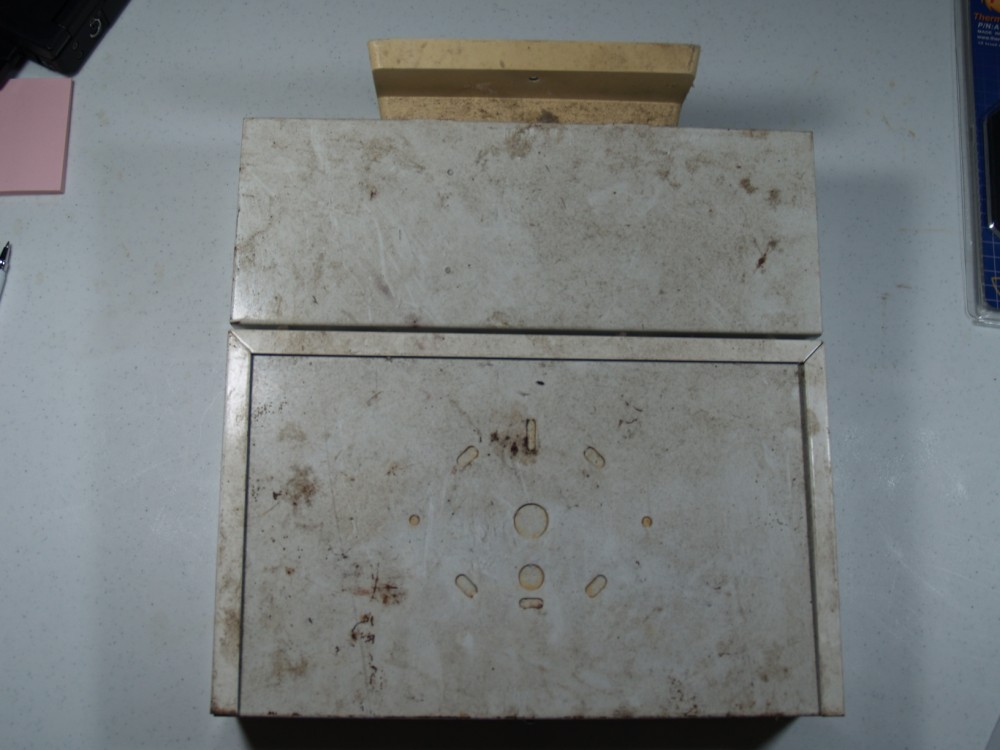
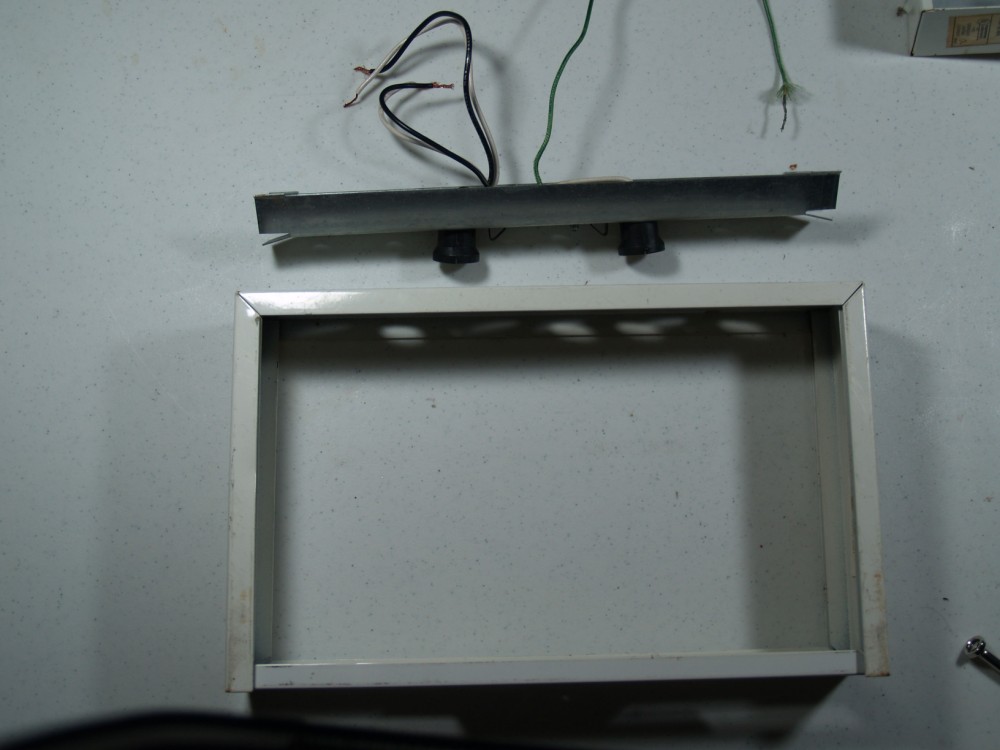
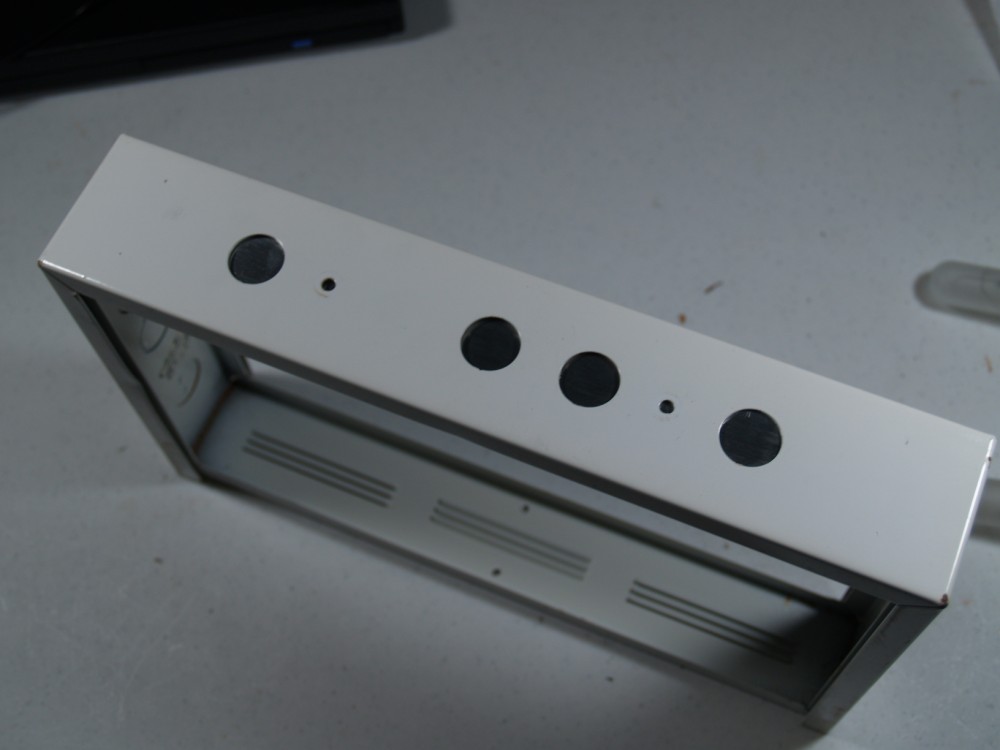
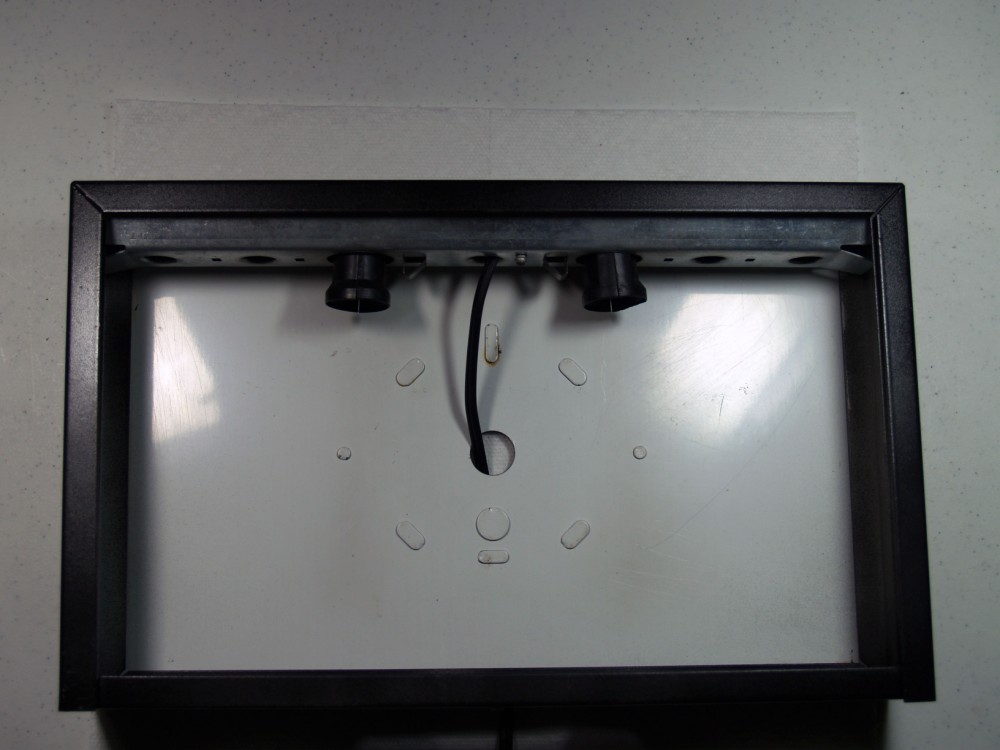
After the sign was stripped of the backup system, I was left with just the bracket for the light sockets, as well as 4 holes on the top of the sign where wires used to pass through from the backup batteries to the light sockets.
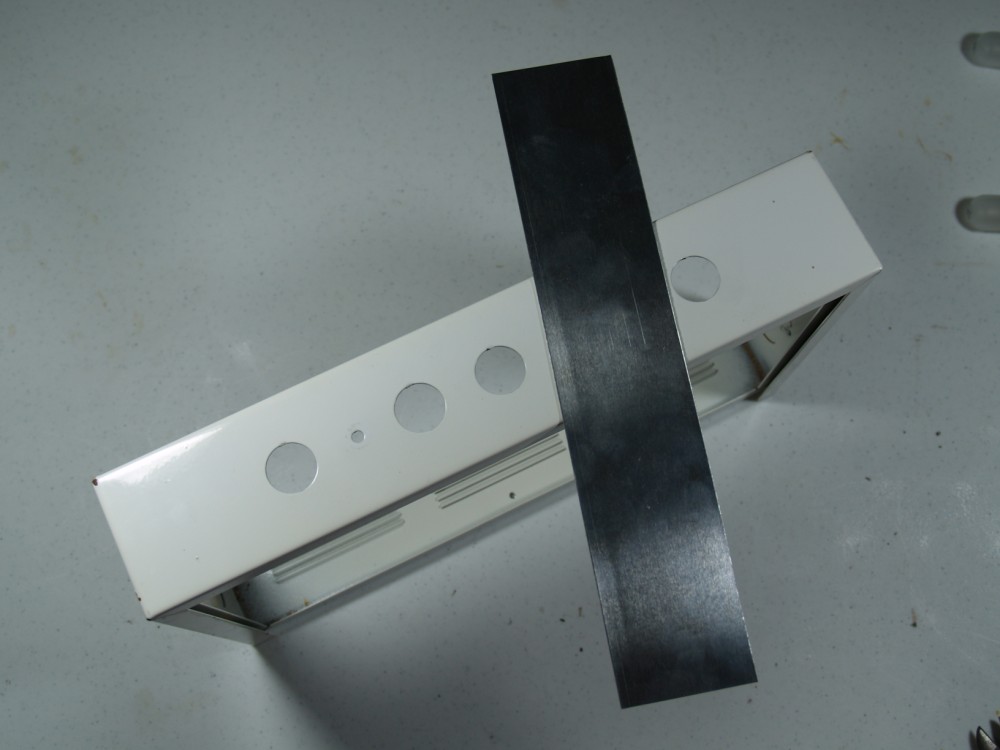
Now we couldn’t have large holes for light to escape through so I set about covering them up. I had some scrap aluminum laying around so I used a straight edge and a razor to score and snap it to size.
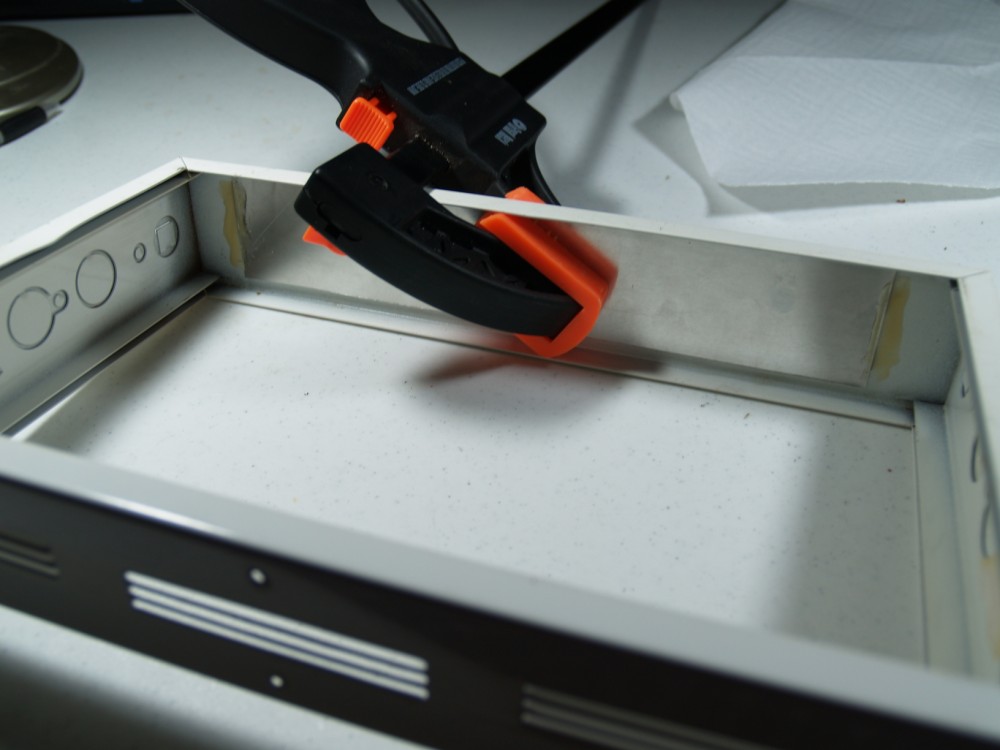
After the piece was cut to size, I glued it in place with some Gorilla Glue and clamped it in place. I chose Gorilla Glue because it works really well to bind pretty much anything together. One small problem about using it is the fact that it expands while curing, which is why I clamped the piece into place.
With the glue curing it was time to prep and paint the panels. I used a wire brush and some sand paper to scrape off all of the loose rust and get the panels ready to be primed.
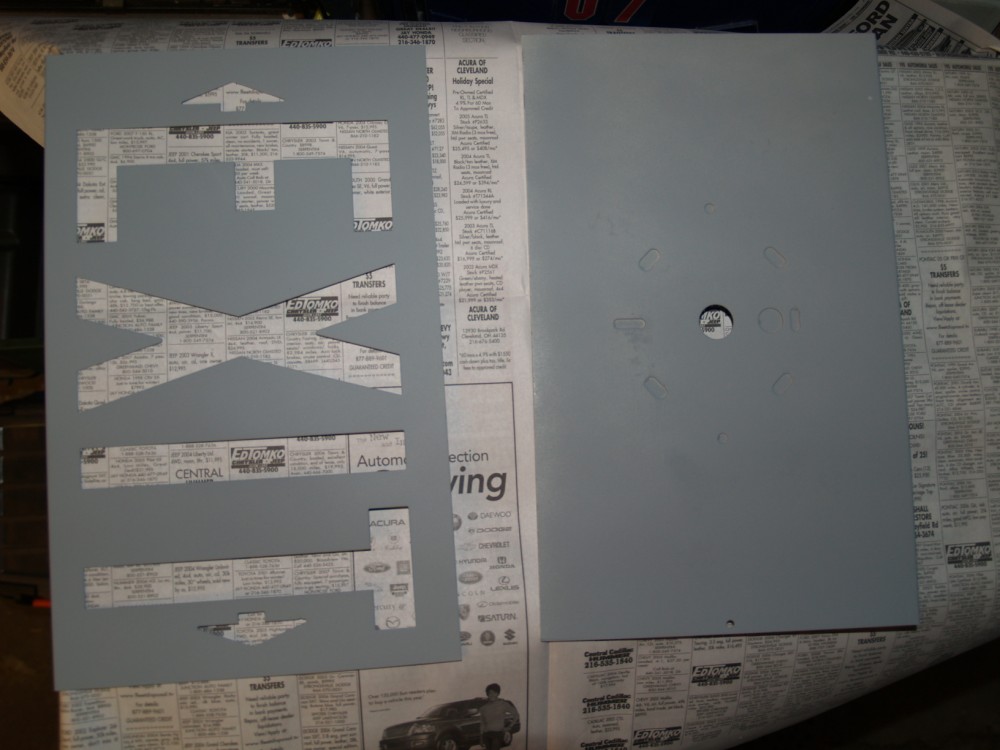
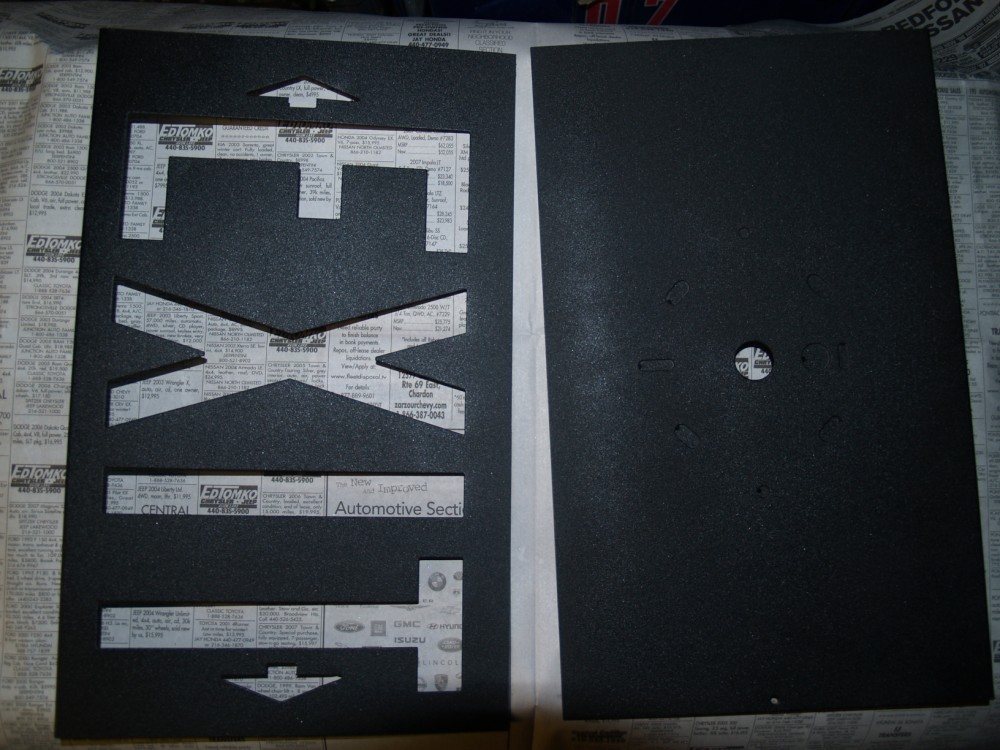
Here are the panels with a coat or two of grey primer.
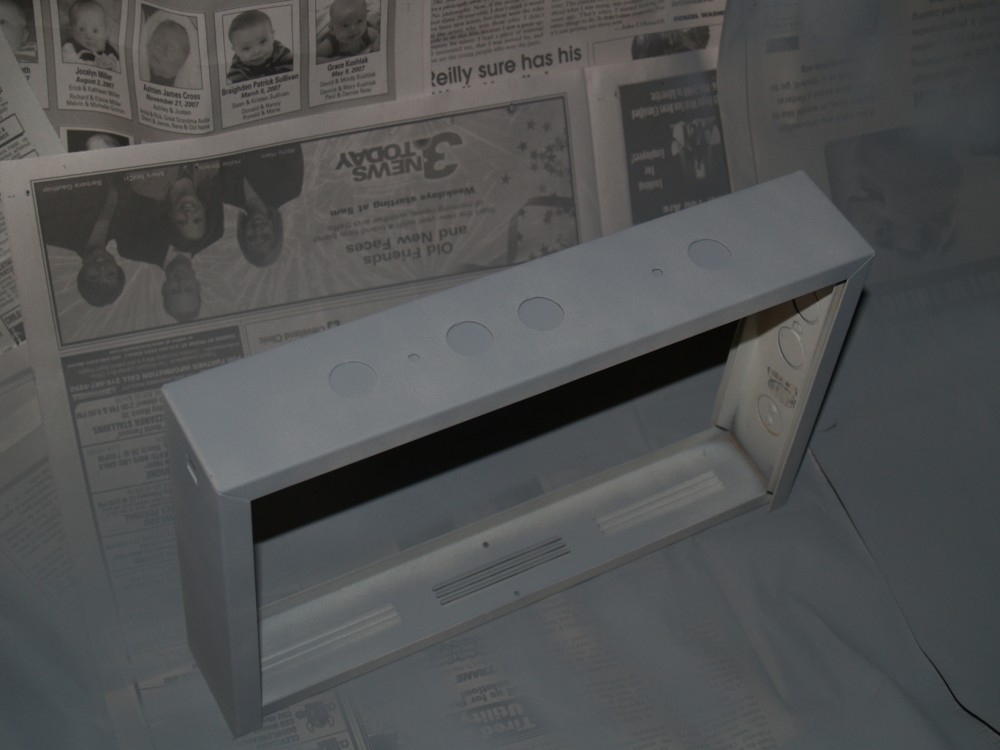
While the primer dried it was time to take a look at the top of the sign to see how the cover was working. The glue did its job and created a nice bond to keep the cover in place.
The frame of the sign also got its own coat of grey primer and joined the front and back to dry.
While the sign was drying, I headed to the hardware store to pick up some lamp cord, a plug and an inline switch to control the sign. I chose to use a 2 stage switch so I could have some brightness control on the sign and I bought 10 feet of cord to give myself enough cord to wind around other objects in the room.

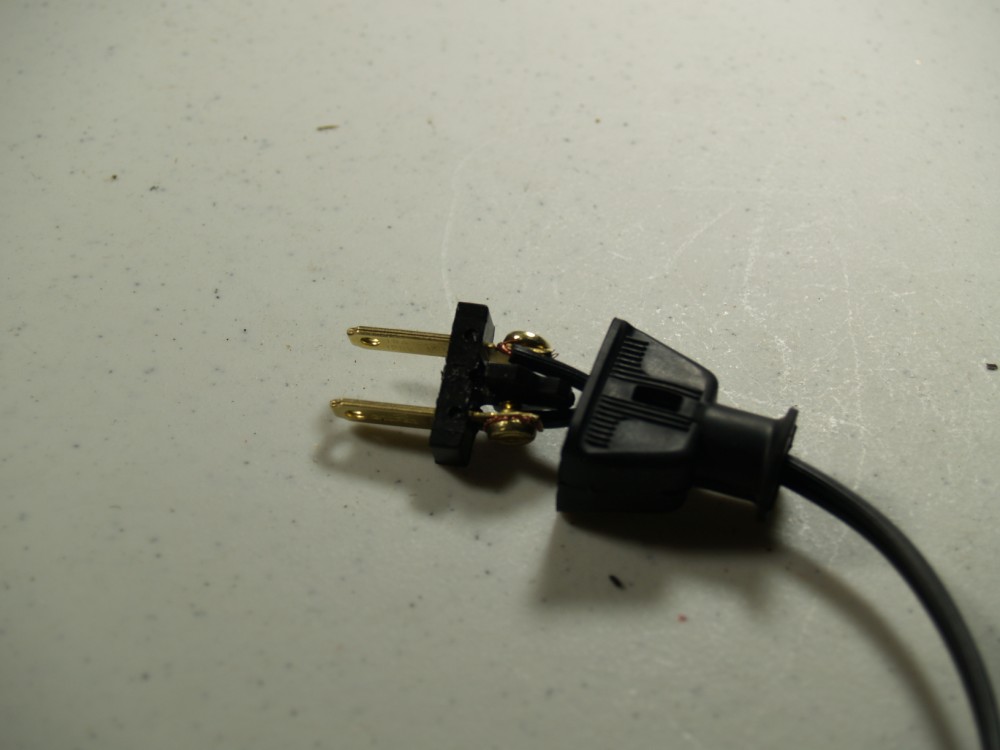
Installing the plug was as simple as stripping one end of the wire and screwing it to the posts on the prongs. Polarity doesn’t matter in this case as this cord will be wired directly to incandescent bulbs.
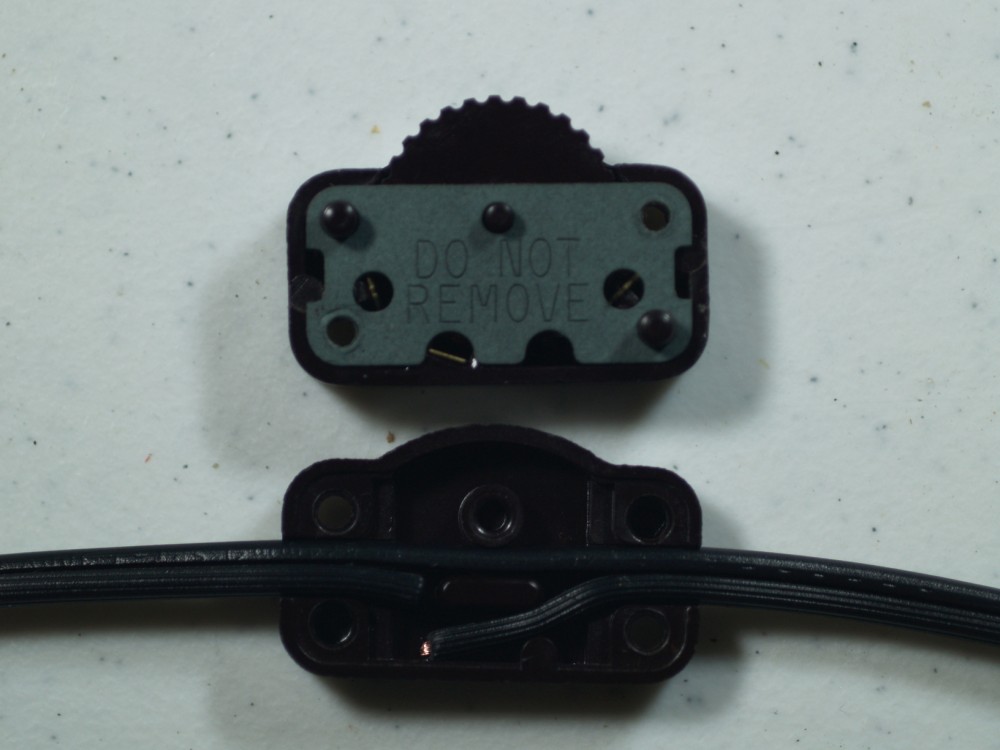
Installing the switch was almost as simple. It opens by removing two screws and then one side of the wire is cut and moved into position. When the case is closed, metal tabs pierce the wire and create the connection.
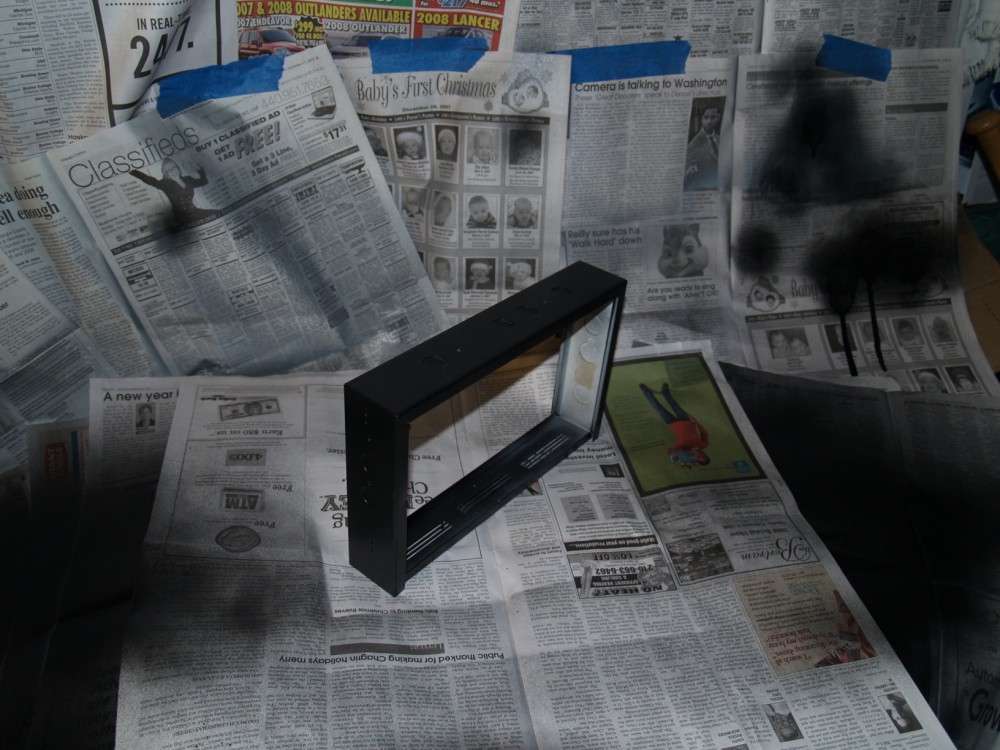
With most of the wiring done it was time to return to the panels and add some color to them. I chose to paint them black because the sign will be used when the main lights are off in the room and I like the way black looks.
The frame also got the same black paint treatment.
Once the paint dried, it was time to install the back panel and finish wiring up the light sockets. I just ran the wire though and open hole on the back panel and connected the two sockets in parallel with some wire nuts.
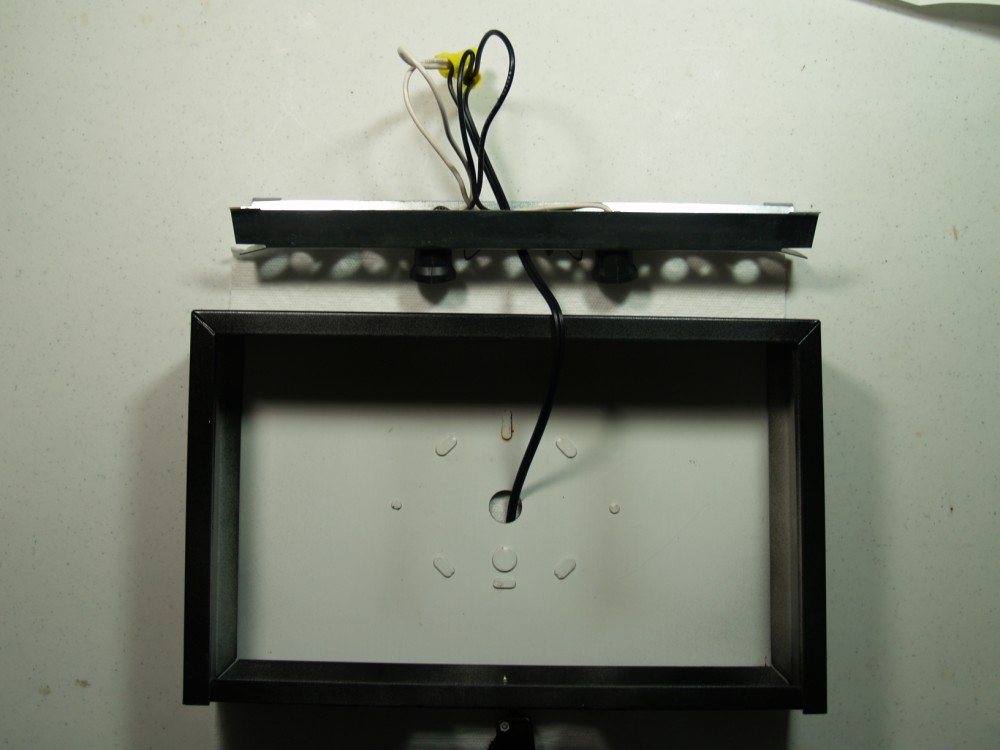
I then snapped the light bracket back into place inside the frame. Notice how the wire comes through an open hole in the light bracket and runs out the back of the sign.
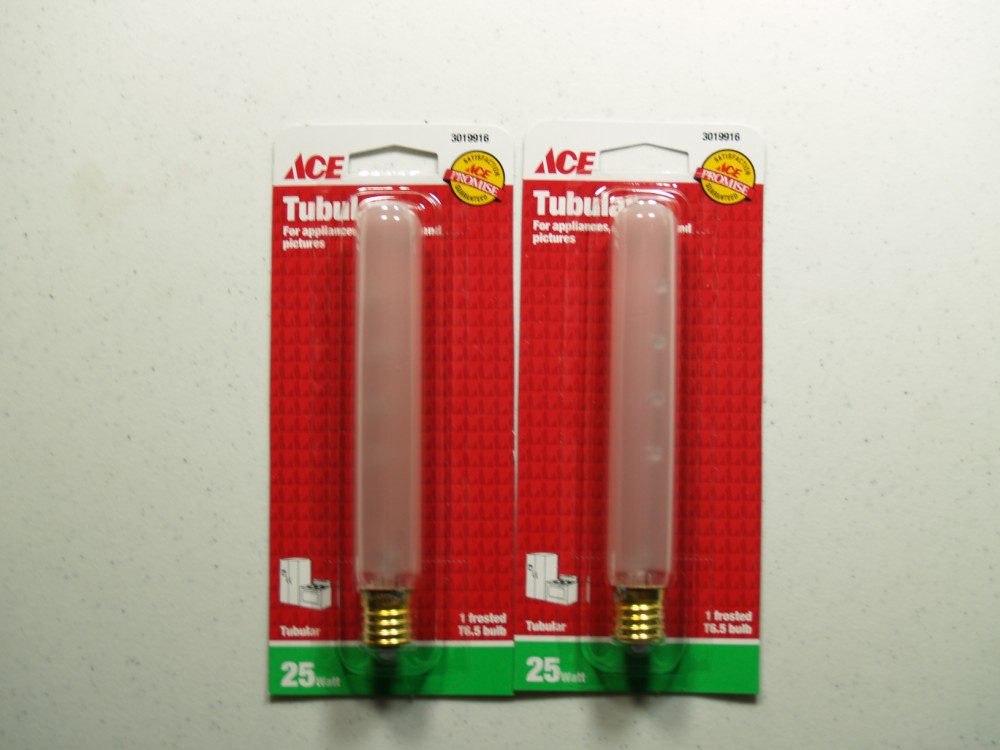
Another trip to the hardware store netted me two new bulbs for the sign. I chose 25 watt tubular bulbs that are made for exit signs as well as other appliances. The bulbs are almost too bright on full power but they work quite nicely when turned down via the switch.
Once the bulbs were installed it was time to close it all back up and turn out the lights.
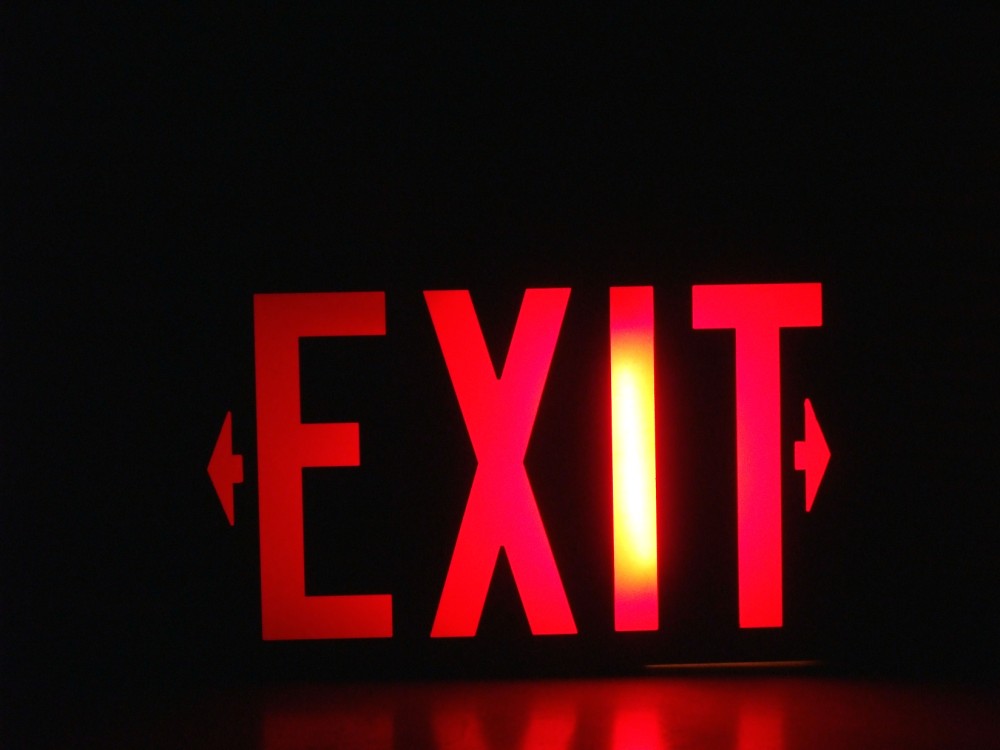
It just so happens that one of the bulbs lines up with the “I” in exit which causes it to wash the sing out a little but its not too noticeable in real life. I am still really pleased with how the light turned out and its survived a year and a half of college life. Sure it could use some touch up on the paint, but that’s almost expected after being in a room with a lot of college kids.
3:57 pm on June 23rd, 2009
never knew you made that! It better be at the new house!