Soccer Cone Party Light
09/28/09
After living in the dorms on campus for the last two years of college, my friends and I decided that we wanted to live in a house off campus. We scrapped together furniture from our family and friends and set about making nice place to hang out. One thing we were definitely missing was party lighting so I wanted to change that.
A while ago I remembered seeing a picture of a floor lamp made out of traffic cones and I thought that this would make a sweet light for our new place. Since all I had was a picture in my mind of what it looked like, I devised a way to make my own hanging version for our living room, and on a college level budget.
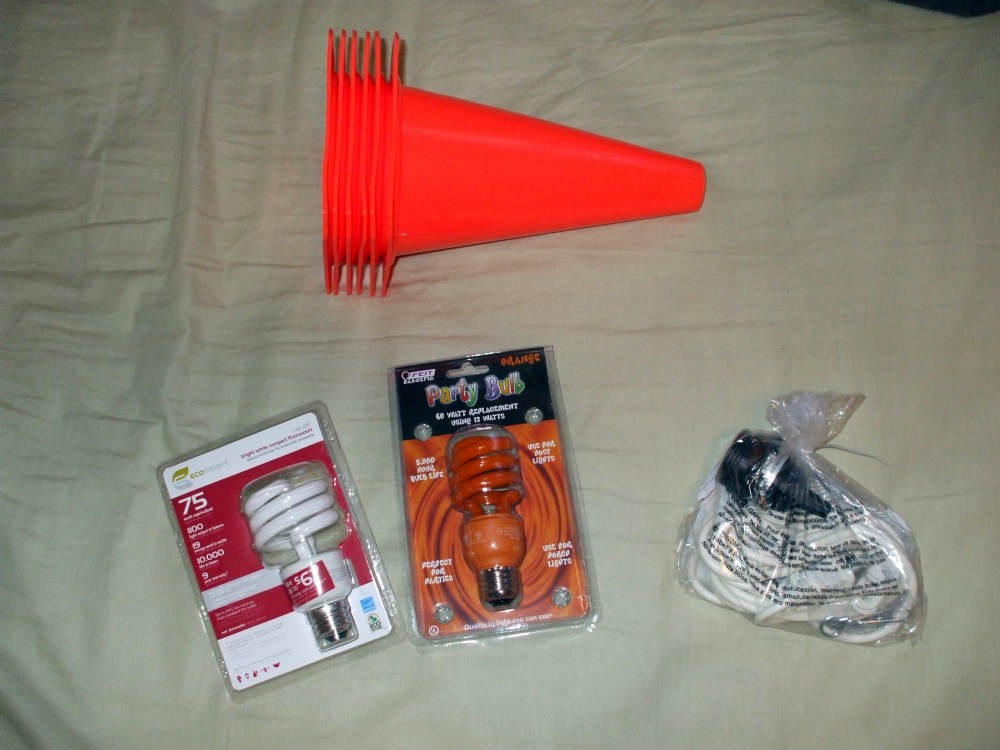
The first, and hardest part, was tracking down suitable cones. Regular traffic cones “borrowed” from around would be too thick to let light through. I tried Dick’s Sporting goods, Target and Walmart looking for practice soccer cones but I could only find the flat discs and cones with spirals cut into them. Neither of these would work either so I set off in search online. I found a set of 12 9” cones on Amazon.com for under $20 with free shipping so I placed my order and set about buying the other needed parts. A trip to home depot netted me a 75 watt florescent bulb and some zipties. I bought a florescent bulb because it would not get hot enough to melt the cones once the lamp was built. I also tried an orange florescent bulb, but the results were not as spectacular, so the white one was used.
The last piece of hardware needed was the lamp fixture and cord. Over the summer, I visited my brother in Baltimore, MD and while we were there I made my first trip to IKEA. I immediately fell in love with the store, buying many cheap items I could use in future projects. One of the things I picked up was a light cord and socket intended for their hanging paper ball lamps. It was $4 and would be perfect to not only power the light, but also hang it by. I believe it was from their HEMMA collection.
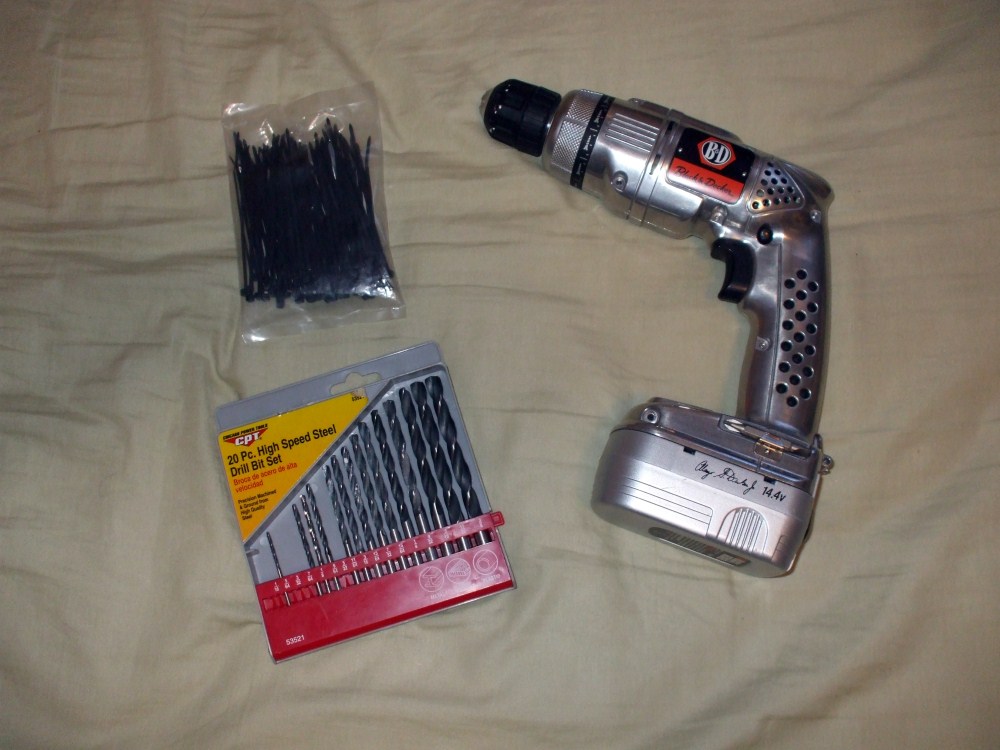
The only tools that I needed to use to build the lamp were my drill, a drill bit big enough to fit the zipties and wire cutters to trim down the excess.
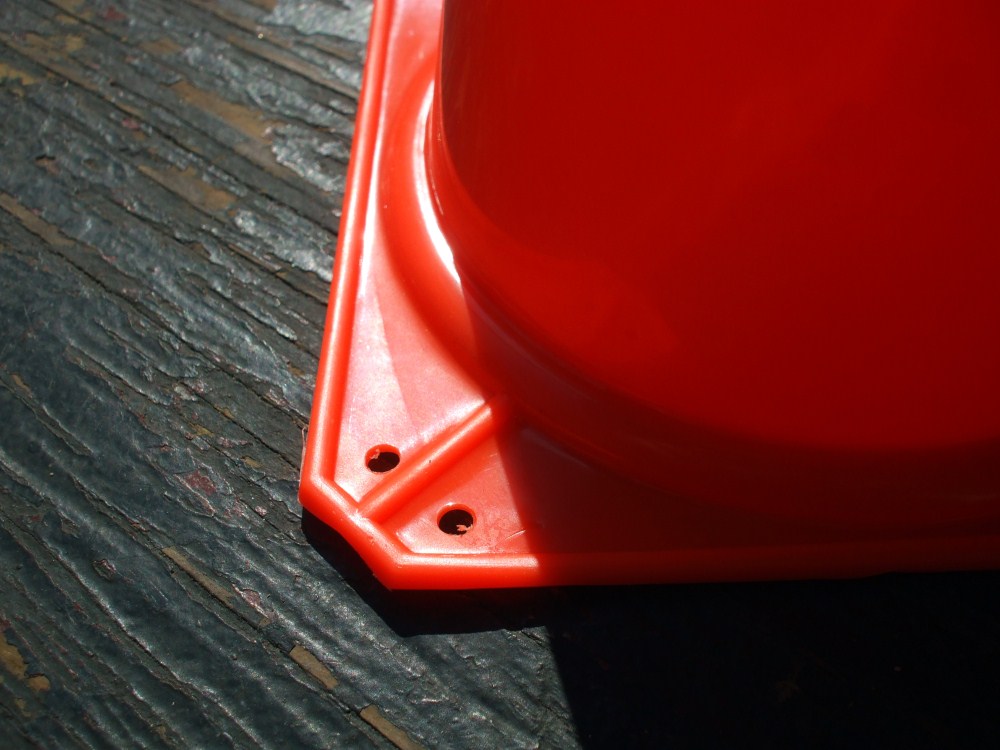
I drilled 2 holes in the corner of each cone. The plastic was very malleable and I could have probably used a sharp object to get the job done. But I had my drill, so why not use it?

Close-up of the holes showing their offset. This doesn’t need to be perfect so eyeballing the locations worked fine for me.
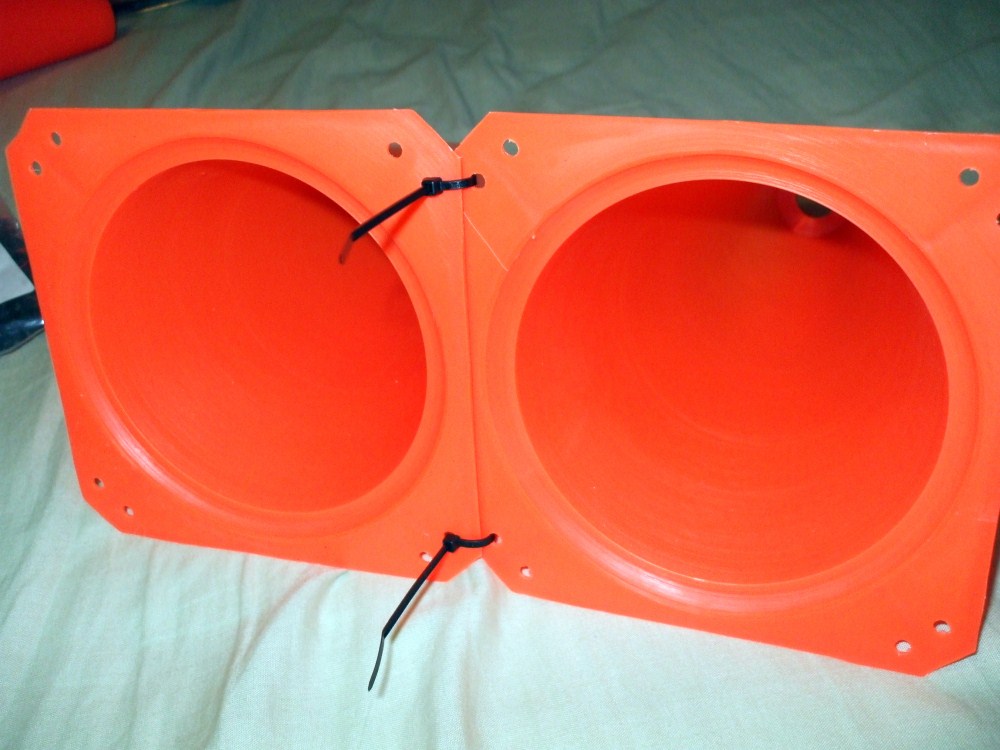
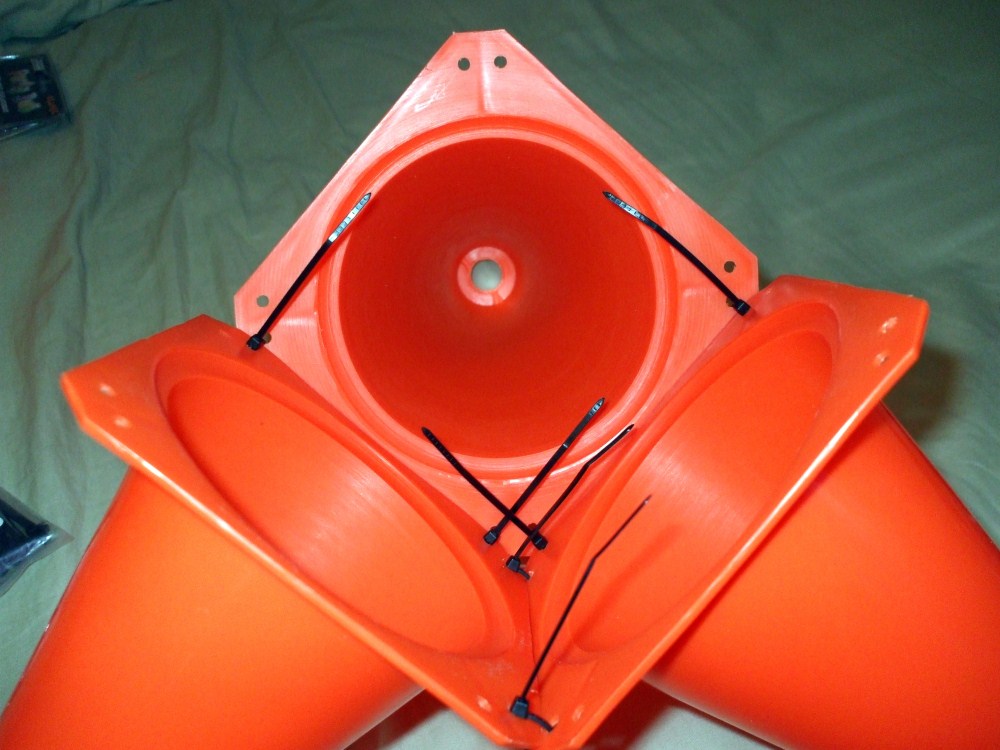
Now came the most time consuming part of the project, ziptie-ing the cones together. Just start with two cones side by side and ziptie them through the matching holes, but don’t tie them down too tight, we can tighten them when the lamp takes more shape. I also kept the “locks” of the zipties on the inside of the lamp for aesthetic purposes.
Add another cone and 4 more zipties and you’re halfway there!
Add another cone and more zipties.
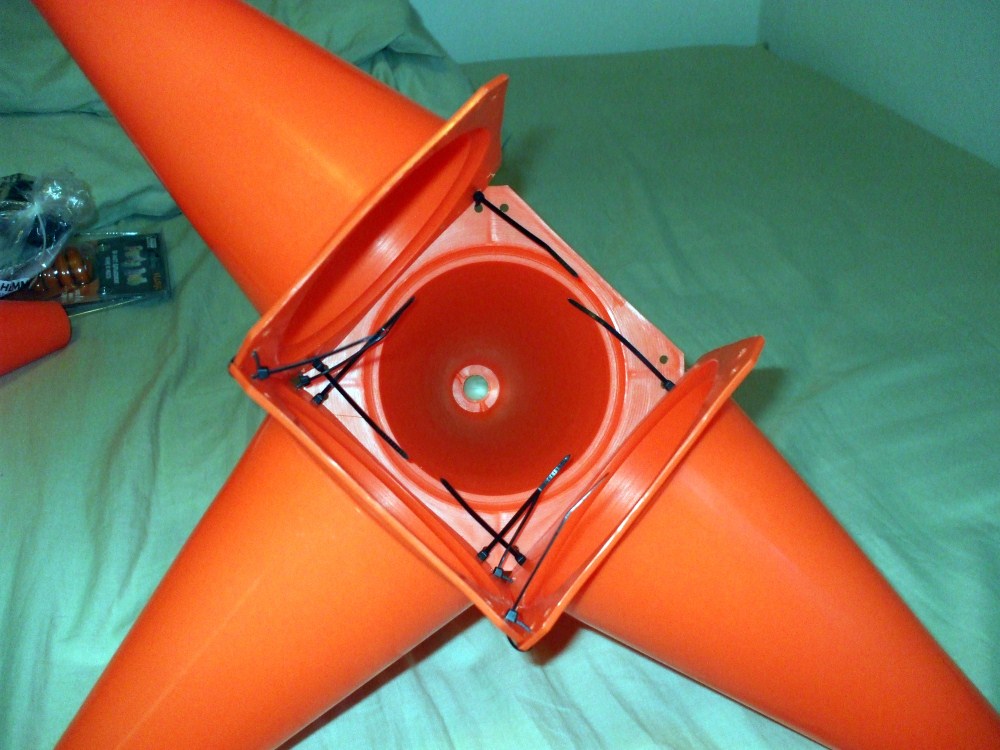
Add the second to last cone and now you can tighten all the zipties. Once the cones are secure, you can use the wire cutters to cut the excess zipties.

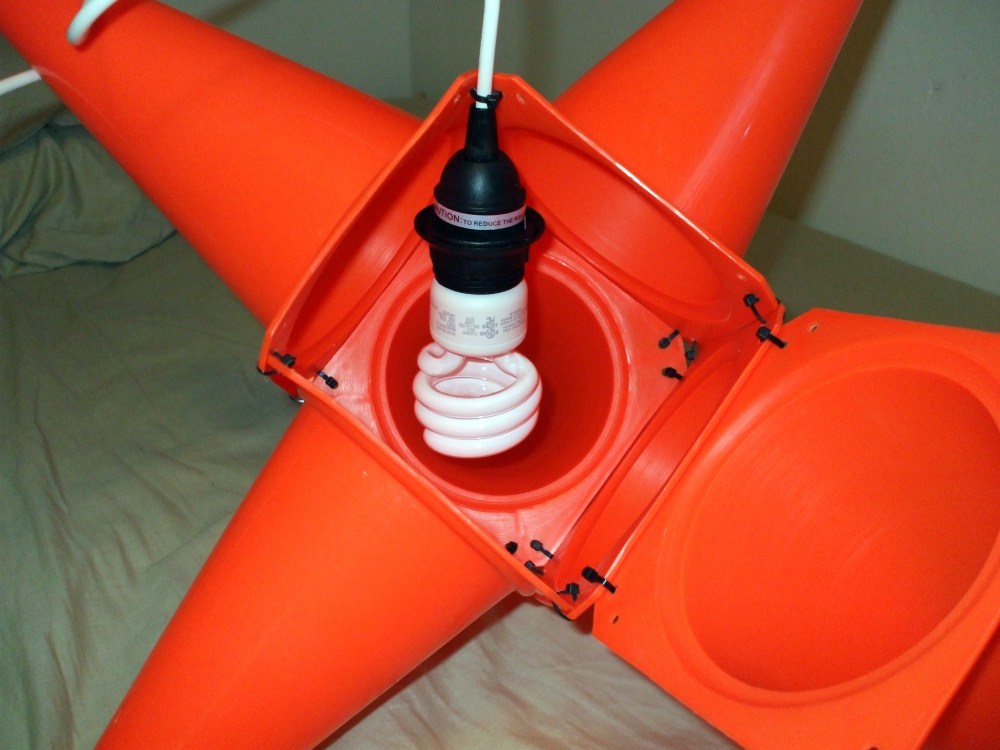
Then I took the IKEA lamp cord and attached the bulb to it. It was then ziptied in place trough the top two mounting holes and I made sure it would hang freely without touching the sides of the cone.
Now take the last cone and ziptie it in place, finishing the lamp. Be sure to trim the excess off the zipties and now you’re ready to test your lamp!
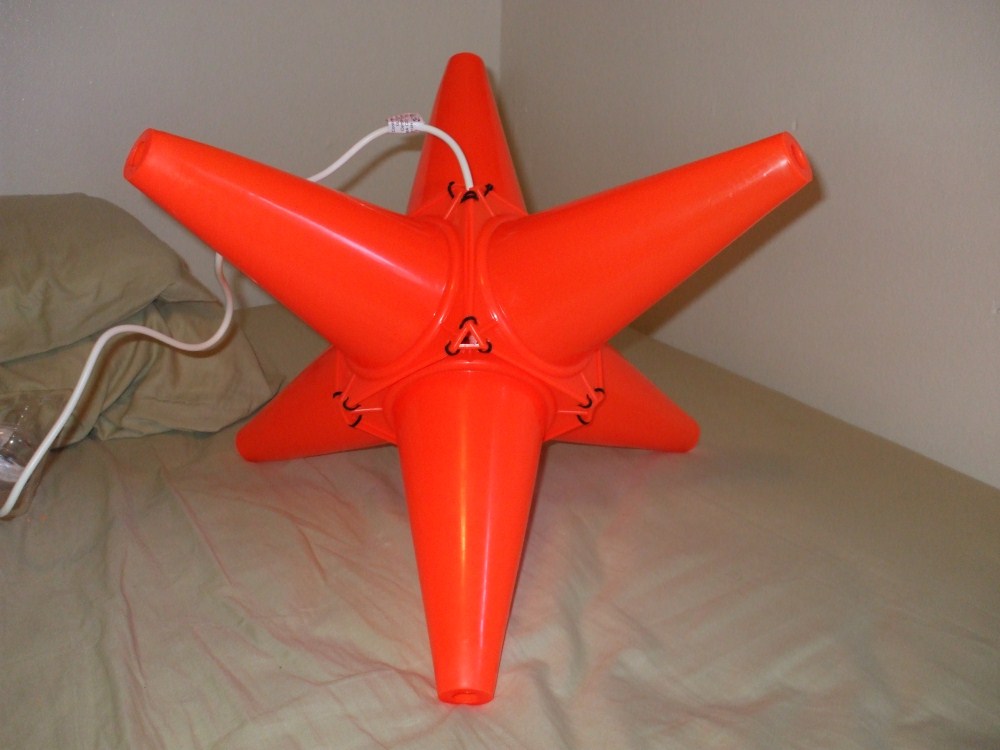
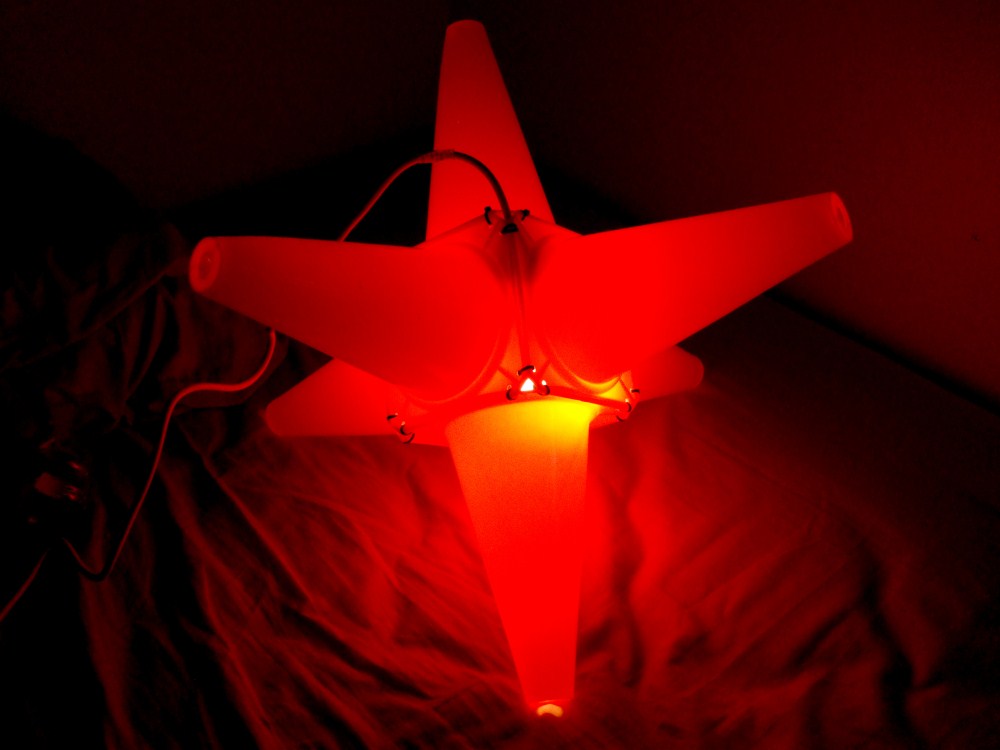
Here is a shot of the lamp with the light on and the main lights off. The zipties keep the cones stable enough that this could be a floor lamp is you so desired.
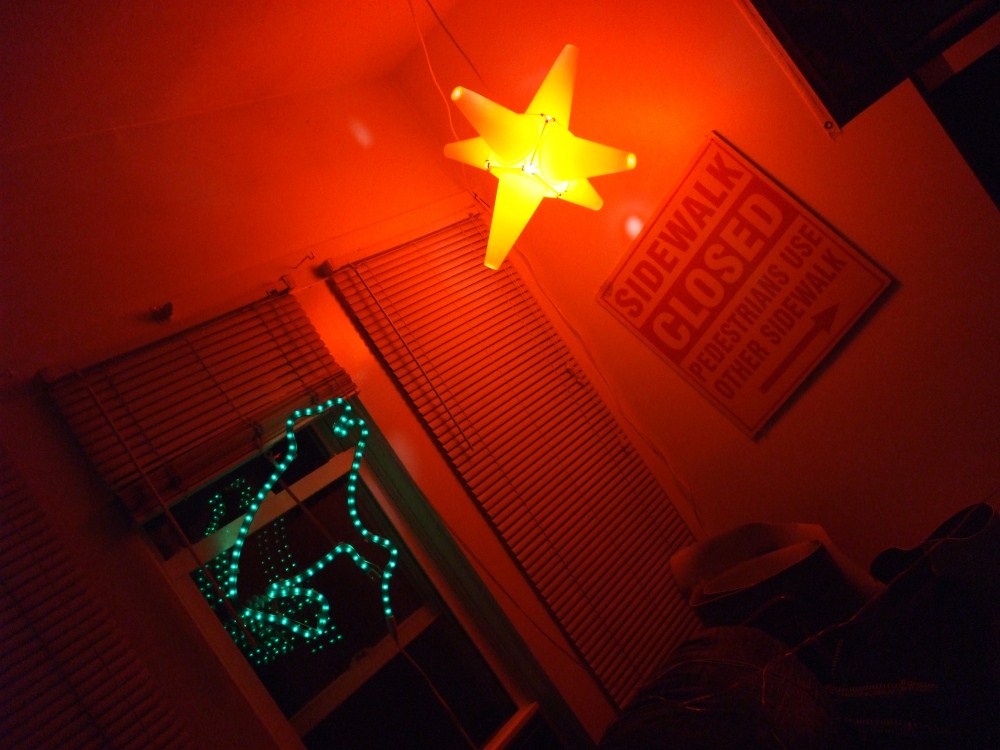
Our living room already had a hook meant for hanging lamps in the corner, but if yours does not, the IKEA lamp cord comes with hooks you could use. Here is a shot of the lamp hanging in our living room.
I’m really pleased with how the lamp turned out and the amount of attention it receives from friends. It does a great job of filling the room with an orange glow and accents our other lights well. The project took less than an hour on a weekday between my classes and was really easy. Looking back, using a cord with a built in switch would have been nice but we solved that by running all of our “party” lights off one power strip and we use that switch to turn them on and off. The lamp has survived a semester of heavy use and when the bulb dies it won’t be too hard to replace it. It’s just a matter of cutting the 4 zipties off the top cone, replacing the bulb and ziptie-ing it back in place. Feel free to leave your comments and questions below.